After dealing with sniffing Android SSL traffic, let's do the same for iOS.
Don't forget to read the warning at the bottom!
Setting up the environment
We need to setup Charles Proxy for SSL proxying. The setup is exactly the same as per the Android tutorial. The process is the same whether Mac or Windows is chosen to host the proxy.
Setting up an iOS simulator
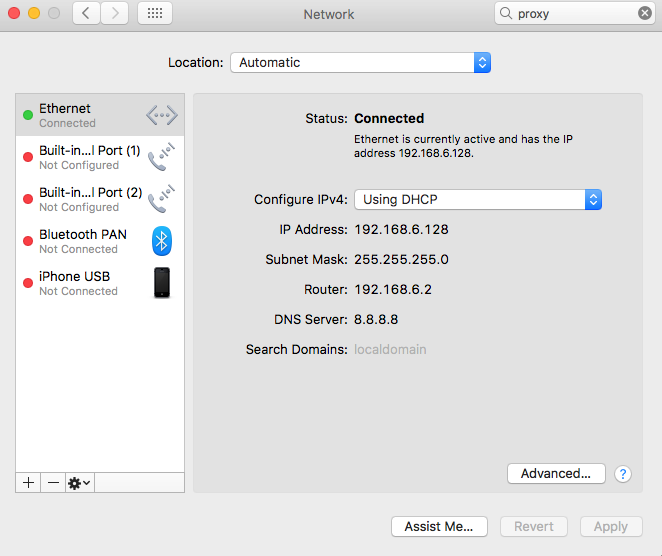
The iOS simulator does not support using a dedicated proxy, so we have to set up the proxy for the entire hosting Mac machine.
This is done through System Preferences -> Network. There we choose the current connection and click on Advanced...
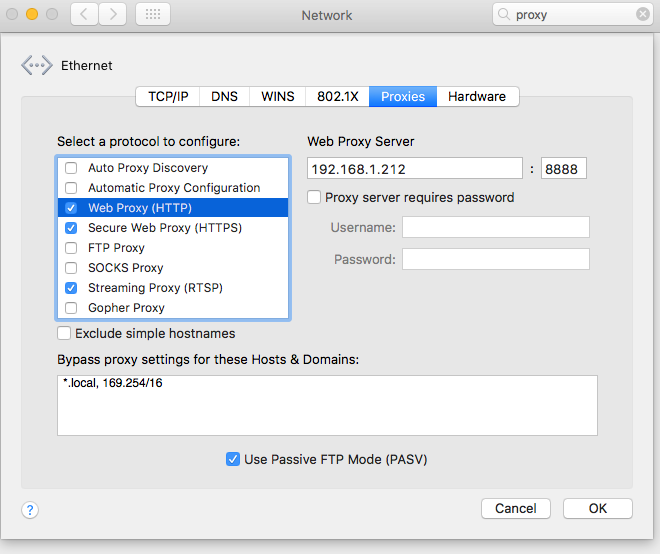
On the Proxies tab we fill in Charles Proxy's info for Web Proxy (HTTP), Secure Web Proxy (HTTPS)
Alternative: Setting up a real device
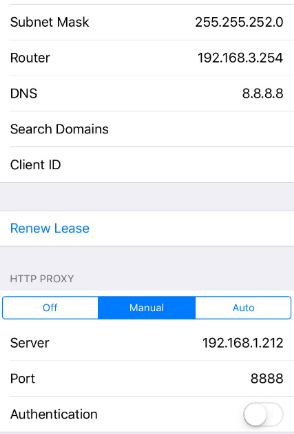
On the device, we access WiFi settings through Settings -> WiFi -> {network name} -> HTTP PROXY -> Manual, and there we enter the same info:
Installing the self signed SSL certificate
Using Safari, we browse to http://chls.pro/ssl and click on Install (as many times as needed):

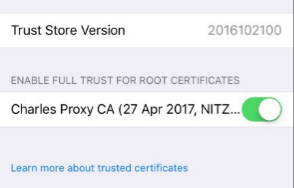
For iOS >= 10.3
On simulators and devices with iOS >= 10.3, we need to also enable the installed certificate. We do that through Settings -> General -> About -> Certificate Trust Settings, there we need to enable the Cahrles Proxy root certificate:
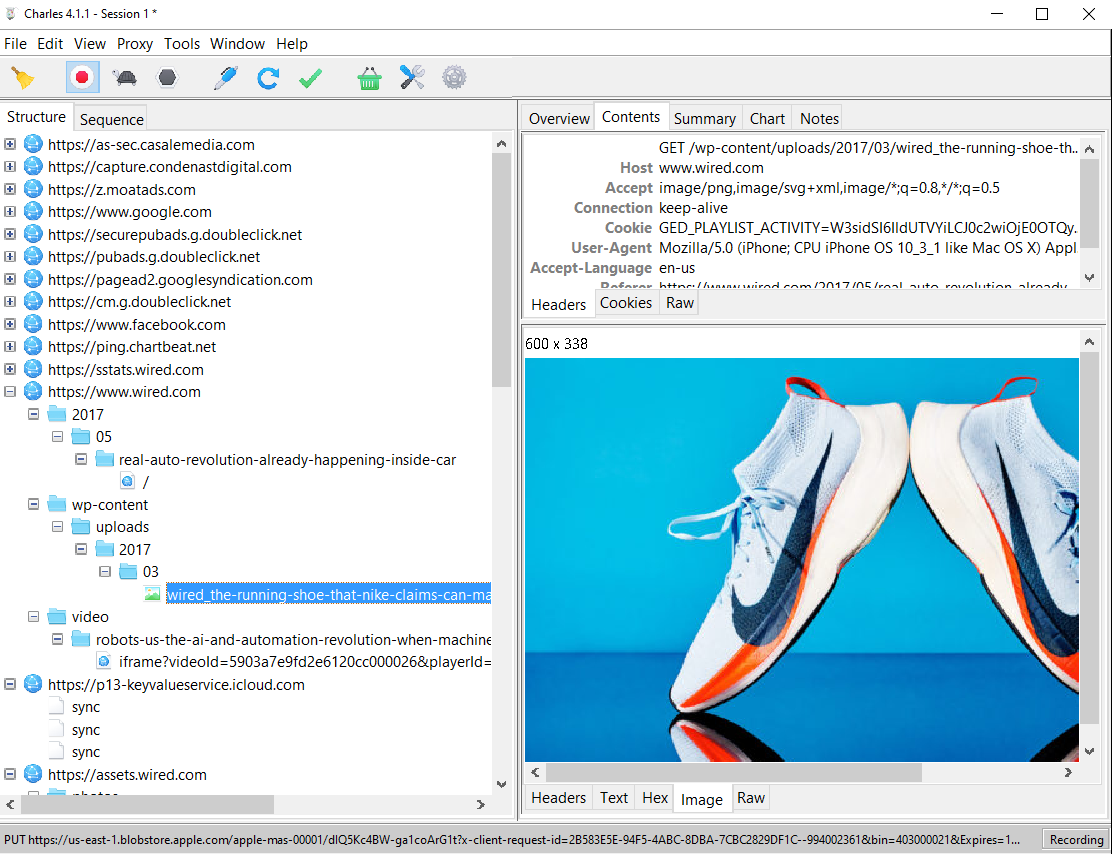
Let's test
So as usual we try the trusted https://www.wired.com:
And Google Maps:
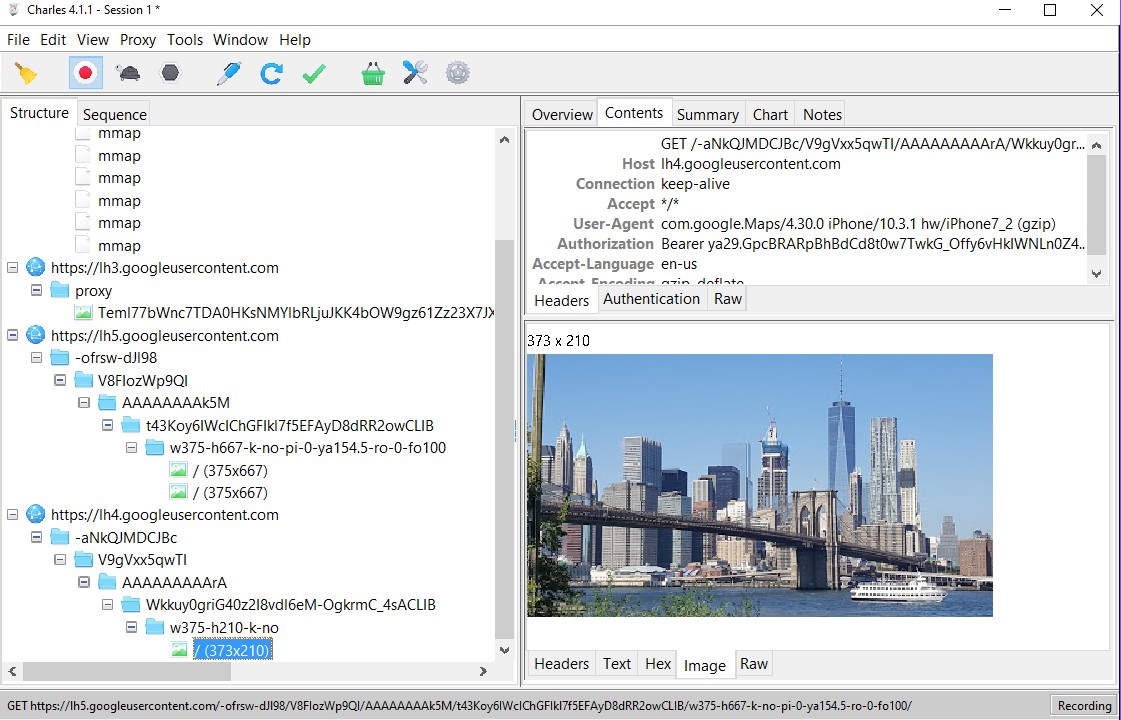
Seems like a great success.
REAL DEVICE WARNING
If you've followed this guide on a real device, then your device is now permanently open to MITM attacks. Since anyone can obtain the Charles Proxy certificate, it is possible to silently set up a proxy through a router and use this certificate to sniff your SSL traffic the same way you've just done yourself.
So ALWAYS, when done testing, reverse the settings:
- Delete the proxy settings.
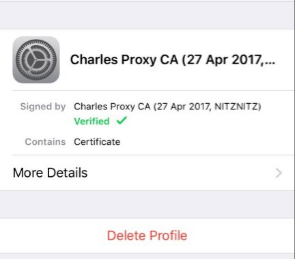
- Delete the Charles Proxy root certificate from the device through Settings -> General -> Profiles -> Charles Proxy CA: